Print specifications: Setting up Your files
Why bleed, trim, and safe area matter
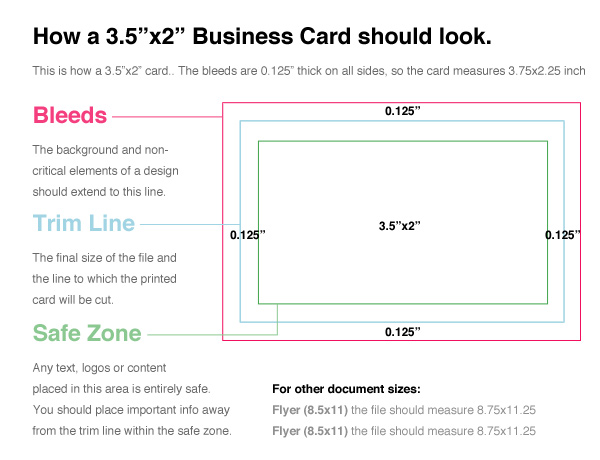
Print specifications become critical the moment your design goes to press, because the sheet still has to be trimmed to its final size and tiny shifts can cause thin white edges or cut-off details. Bleed, trim lines, and safe areas are the key print specifications that work together to prevent that, giving the printer enough room to cut accurately while keeping your design clean and intentional.
Here’s how each print specification helps:
Trim
The trim line shows the exact size your piece will be once it’s cut. Anything meant to reach the edge should extend past this line. Designers often include crop marks so the printer knows exactly where that cut should happen.
- Artwork and photographs should not stop exactly at the trim; they need to extend beyond it if you want color to reach the edge.
Safe area
The safe area is the inner boundary where all essential content should stay. Keeping your text, logos, and calls to action inside this margin protects them from being trimmed off especially if there’s a slight shift during cutting.
- A common rule of thumb is to keep important content at least 0.25″ away from the trim edge on all sides.
- This margin also improves readability because nothing feels cramped at the edge of the piece.
Bleed
Bleed is the extra artwork that runs beyond the trim line. This prevents accidental white borders and ensures color or images flow cleanly to the edge of the finished piece.
- Most print projects have a standard bleed is 0.125″ on each side, which makes the overall file about 0.25″ larger in both width and height.
- For wide-format or oversized pieces, a common bleed is 0.25″ on each side, making the file about 0.5″ larger overall.
How this looks in a business card project
Print specifications In Practice

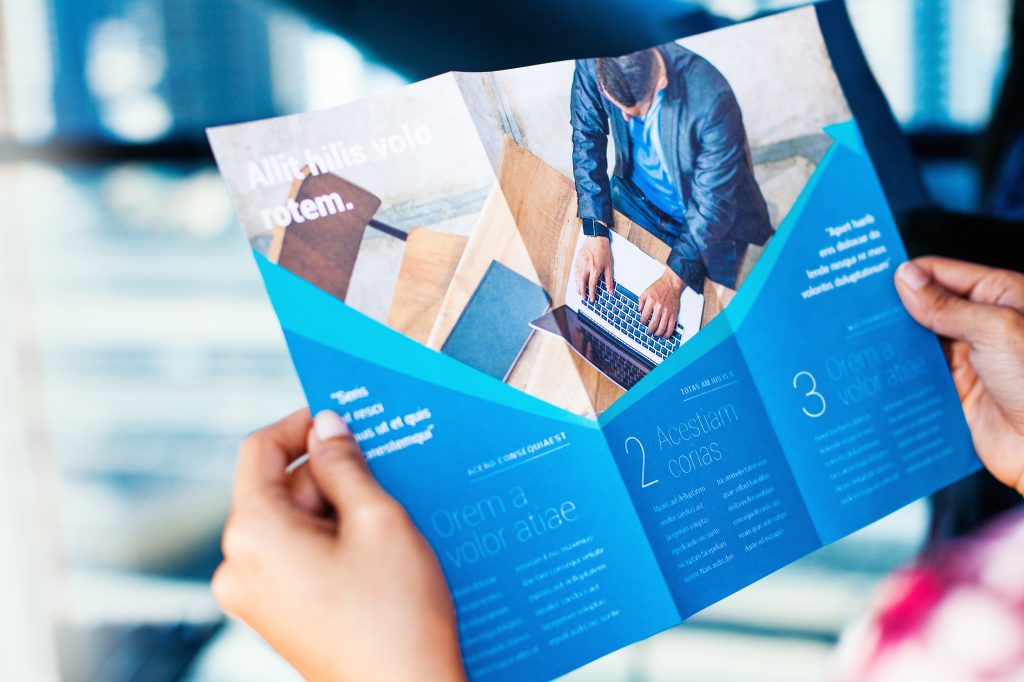
This example of a postcard designed for Twelve Letter Company demonstrates proper file preparation for printing. The file shows three zones: bleed on the outside, trim in the middle, and safe area inside.
- The background color or photo extends into the bleed.
- The finished postcard size is marked by the crop marks at the trim line.
- The headline, logo, and contact info sit comfortably inside the safe area so nothing gets clipped.
File setup best practices
Following a few consistent steps will prevent most print surprises and save time on revisions.
Consult with us for specific file format, resolution, bleed, and trim print specifications.
We offer templates for various products, ensuring your artwork conforms to the correct dimensions, bleeds, and safe zones. Please ask for a template if you need assistance, or check out our online template library here.
Set Up Artwork Correctly
- Create your document with the correct dimensions, including bleeds if necessary.
- Ensure images are high-resolution (300 DPI) and correctly embedded.
Proofread and Preview
- Double-check your artwork for errors, ensuring all elements are within the safe zone and bleed.
- Preview your design at 100% zoom to inspect image quality and detail.
- Ensure all pertinent details, such as words and QR codes (Test QR codes for functionality), are within the safe zone (0.25” from each edge).
Export Correctly
Save your file in the recommended format (we recommend PDF x1a files for the best compression) with embedded fonts and images.
A note about Canva files
When designing in Canva, it is especially important to set the document size correctly before you start.
- Export as a print-ready PDF with crops and bleeds turned on, and select a print-oriented color mode when available.
- Because Canva designs can sometimes print differently than expected, requesting a printed proof is often worth the small extra cost to prevent customer dissatisfaction with print quality.
Bringing the print specifications all together
Bleed, trim, and safe area might feel technical at first, but they are really just simple tools to help your printed piece look the way you intended.
- Set the file up with the right size, bleed, and safe area.
- Keep important content away from the edges and let backgrounds extend beyond the trim.
- Lean on templates and proofs when you are unsure, and partner with a print shop that reviews your files before going to press.
Ready to elevate your print designs? Contact us today.